about white
Monthly Archives: April 2011
mantle work
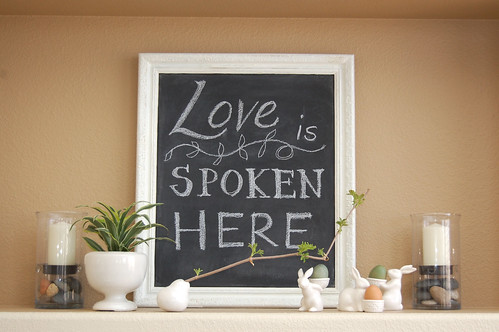
So, I did my mantle re-do research last week and found ideas I loved at a new-to-me decorating blog called The Lettered Cottage. This spring mantel arrangement was my favorite thing I saw on the whole internet– totally school room friendly and clean and fresh. My interpretation is not quite as pretty or involved, but the only thing I had to buy was an ugly thrift store flowery painting. It had no glass and the picture was printed on stiff board, so all I just painted over the painting with chalkboard paint and turned the gold frame white. That was easily done in a morning. I think it will be fun to change up the words and draw pictures every now and then.
If you remember my mantel-cubby thing used to be mauve. SHHHH! Don’t tell my landlords, but one of the walls in the living room is painted a tannish color. Barry found the left over down in the basement so I used it to cover the mauve. Technically, that’s not changing the paint colors in the house right, since this color is used in the house? I don’t think they’ll notice. It certainly makes me feel better.
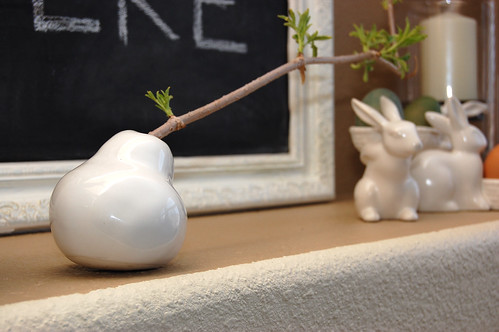
I know my candles would look better if they were pure white instead of cream colored, but they’re what I have. I think some apple green pottery would be a fun addition, as well as something white and small on the walls on either side of the black board. I’m on the look out for something that I love. I don’t want to buy things just to fill spaces– but because I think they’re beautiful and they make me happy. And I prefer artist made things rather than China made things, of course. I’ll keep an eye on etsy for things that fit the bill.
In the meantime– happy spring!!
doll house
I love these modular dollhouses. I sure wish handmade toys weren’t so expensive. My little boys love doll house play. The cardboard house their big brother made them is doing the job at the moment.
no more tape on the walls
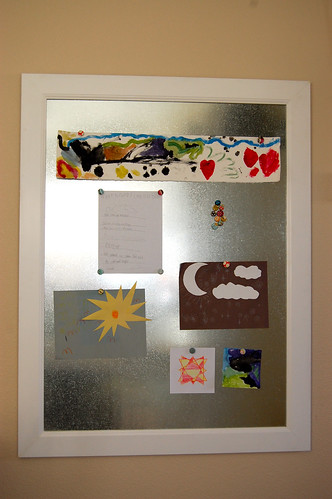
So, here’s that magnet board I’ve been dreaming up for the kids’ side of the art room. We got a big 3′ x 4′ piece of sheet metal from Home Depot, some inexpensive base board molding, some things to hold the corners of the frame together, and a box full of thumb tacks.
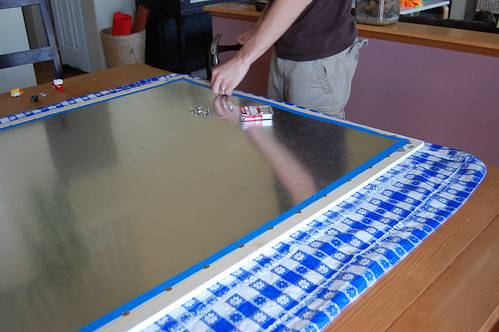
Barry made a frame from the molding and we painted it white, then used thumb tacks to hold the sheet metal to the back of the frame. (If you try this be VERY careful with the metal. My poor husband really gashed his finger at Home Depot just trying to slide the stack of metal back into place after he got the piece he wanted. Before he even took it out of the car at home he taped all the edges to prevent another cut.)
When we first lifted the whole thing up with the metal on the back a couple of the corners of the frame came unglued and we were afraid that the whole thing was going to be an unsturdy failure, but we put some more glue in the corners, wrapped a band clamp around the whole thing, and let it dry for a day. That did the trick! It turned out great!

We just screwed picture hanging wire to the back and used 2 of those crazy picture hangers that can hold 50 lbs. to hang it on the wall. This was a good solution for us because we’re renting this house and don’t want to have big screw holes in the walls.
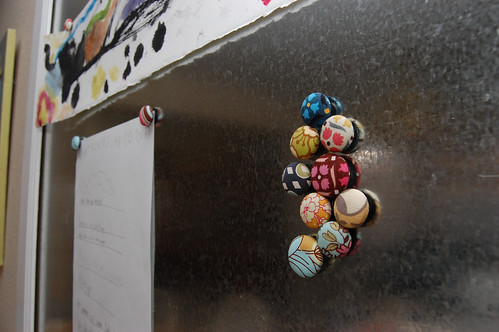
A couple of my boys and I used fabric scraps to make some covered buttons, then hot glued round magnets to the back of them. They turned out really cute.

And while I was taking pictures of it I thought I’d show you a view from the kitchen with my pretty calendar (from Paper Source) and our chore chart. It makes me happy that everything looks so neat and pretty.
Anyway, that’s the magnet board story. My art room spring cleaning is complete. (And it’s a good thing that I documented it since it’s a little messy now. I’m helping Brenna make a quilt…)