crafty Christmas catch up #2

My in-laws got me a stack of craft books for Christmas.  I’m going to show you one today.

patchwork style

Patchwork Style!  This book has been making the rounds in craft-blog-land for years as a Japanese craft book, but now it’s in English.  Japanese craft books do have super clear diagrams and beautiful photographs which make them easy enough to work from if you don’t mind using a little guess work– but being full of words with a recognizable alphabet in a language I can actually read makes this one much, much better.

I was intrigued by the way Suzuko Koseki says to piece log cabin blocks by basically foundation piecing onto your batting.  Simple, and you quilt as you go.  I tried it out with this simple project:

patchwork pillow

a patchwork pillow.  It’s a great way to use up treasured tiny scraps of favorite fabrics .

patchwork pillow

Since I only have one it keeps moving around from place to place.  If you can’t tell, I like it so much it even became my new header here.

new pillow

It does need, at the very least, a partner.  My goal is to have that done in time to welcome our new couch into the house at the end of the month.  If only the IRS could be faster…

crafty Christmas catch up #1

This summer when we went to visit my family I went through my usual crafty frenzy that I seem to have while I’m home with extra adults to police the masses.  I  made a trip to the best quilt store I’ve been to and came out with a stack of Kaffe Fasset shot cottons in close colors of green and fat quarters of prints by Heather Bailey and Amy Butler.  I pieced a bazillion half square triangles and put them up on my mom’s design wall.

on the design wall

And that’s as far as I got.

For Christmas my mom put it all together for me.  She squared up all those little tiny squares, sewed them together, quilted them in a super cool pinwheely pattern, bound it, and sent it to me for Christmas.

I love it.

Christmas quilt from my mom

lovely quilting

Chirstmas quilt

Don’t you?

Thanks mom!

helping Haiti

I just wanted to spread the word on a way to help the people devastated by the earthquake in Haiti.  LDS Humanitarian Services does miraculous things with its resources.  Aid trucks have already been sent on trucks from the Dominican Republic, a plane full of supplies left Denver a day or two ago, and much, much more will be sent over the weekend.  Volunteer doctors are headed over to set up a medical clinic in the largely undamaged church building in Port-au-prince.  Hygiene kits, water filtration water bottles, and food are also being sent.

If you feel so inclined, you can make an online donation here.

one of those projects

I am on a mission to rearrange, declutter, and inspirify (you know, to make inspiring) my school area. My muse is this blog I stumbled upon this week, and more specifically this post that gives the in depth tour of her family’s learning space.  Oh, it is so great– full of beautiful and meaningful toys, tools, books, supplies so beautifully presented with much thought into the needs of each individual child.  As organizationally challenged as I am, I am taking baby steps on this mission of mine.  I decided to start in the area I feel like I do a pretty good job at providing supplies and creative motivation for my kids.  To the art area I went to inventory supplies, sort, purge etc. etc. etc.  As I was doing this I realized that the vast majority of the crayons we have came with me from my childhood home, to college, and now here.  That’s 12 years old, give or take.  They were broken and dry– so I did a little Googling and found a bazillion tutorials for melting and recycling crayons.  (Was that introduction long winded enough?)

warm and cool

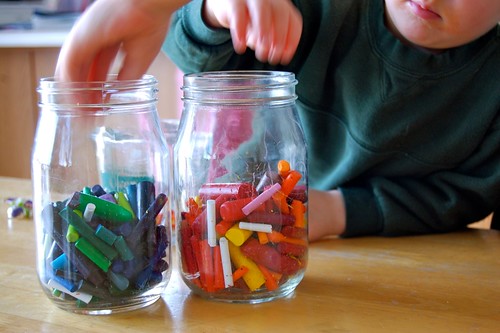
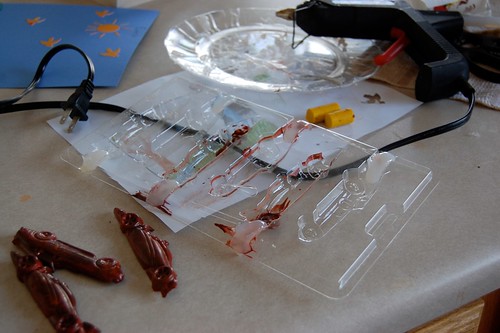
So, little hands helped me peel away all the old wrappers and sort them into warm and cool jars.  I did most of the peeling, Ian did most of the sorting.  They peered over my shoulder while I researched and saw crayons made in car shaped candy molds.  The crayon users were very adamant that we make car shaped crayons because how fun would that be to drive your car and color at the same time?  I made a trip to the craft store to find them and all I could find were pretzel molds.  They were shaped like cars though, so I brought them home.

The car molds worked– kind of.  I should have thought through the implications of the part of the mold made for the pretzel stick to be inserted into the candy before I started pouring hot wax into them…

I made a mess

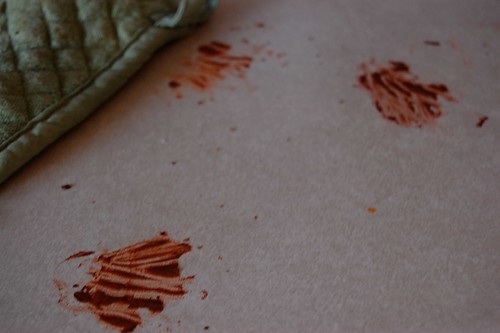
Most of it just went onto the counter.  Then I had the brilliant idea to fill the pretzel places in with hot glue– um.  Not a good idea with a baby underfoot or on your hip.  With all the distractions that 5 kids around hot glue can cause I picked up the tray and put my thumb right in a big pool of hot glue.  Needless to say, at that point I was done trying to figure out the whole pre-melting crayons to pour in molds with big escape routes for hot wax.

unsuccessful attempt to use a candy mold

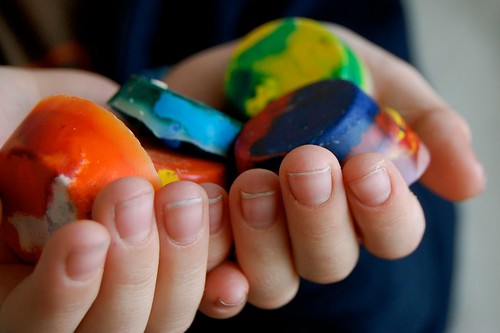
So, onto the much simpler method of filling up mini muffin tins with crayons, melting them in the oven, letting them cool, then popping them out.

melting

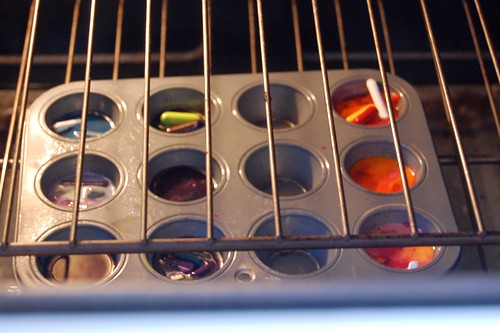
It was a much better way to go about this whole project while having all 5 kids involved in some way or another.

trying them out

They turned out okay.  The heating and cooling does funny things to the wax and pigments, so they don’t color as well, but they’re fun.  I can say I’ve done it.

recycled crayons

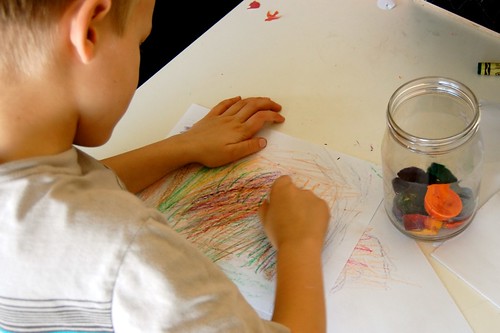
And now I have an excuse to buy new crayons and display them all pretty and inspiring like:)