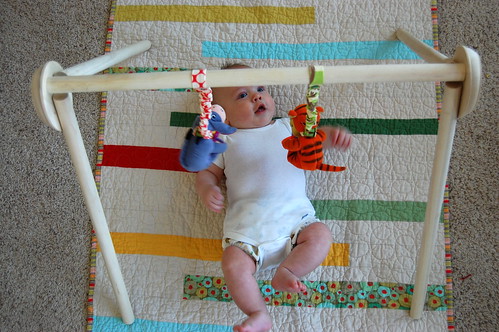
Here it is– a tutorial on how to make a simple baby gym. Feel free to make this just how I did, modify it, or whatever, but if you make one and show it to the internet, give me credit by linking back here.
Today I’ll show you the wooden part, then on Monday I’ll show you how to make cute springy-toy-dangler-things.
Materials: (you shouldn’t have any problem finding these at Home Depot, Lowe’s, or a craft store like Hobby Lobby)
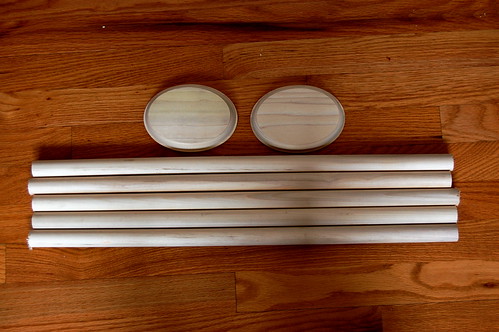
- 5 wood dowels 1″ in diameter and 24″ long
- 2 wood oval rosettes 4″ x 6″ x 1″ (a circle at least 4″ in diameter should work too)
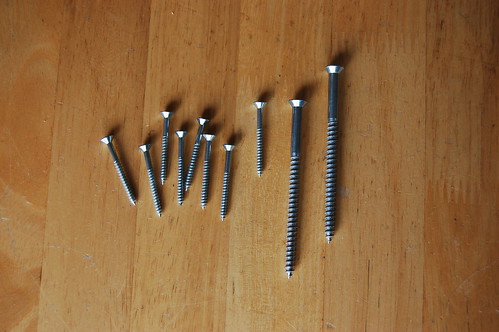
- 8 #8 x 1 1/2″ wood screws
- 2 #12 x 3 1/2″ wood screws
Tools:
- saw to cut dowels to size if you don’t have them cut at the store
- a protractor or quilting ruler to measure angles with
- drill and bits
- screwdriver (preferably with power)
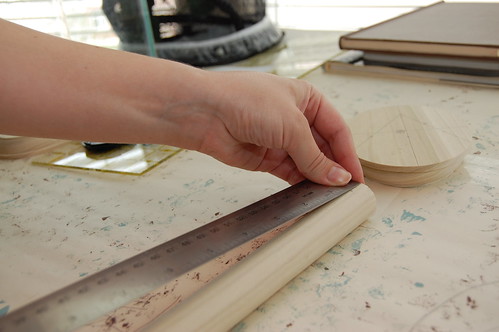
First, mark all the spots you need to drill holes.
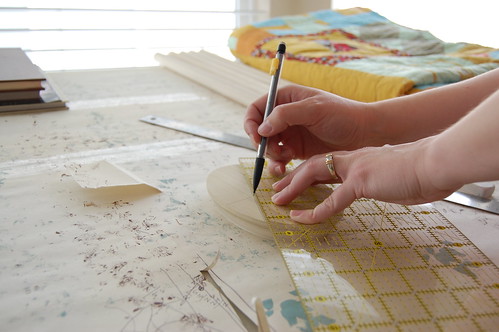
On your oval draw a line down the middle lengthwise. Measure 1″ down from the top along the line and make a mark. From this mark make a line angling out 30 degrees to the right. Now make a line angling 30 degrees to the left. On each of theses angled lines make marks 1 1/4″ and 2 1/4″ from the top. It should look like this:

On 4 of your dowels make marks 1/2″ and 1 1/2″ from the top. These will be you legs.

Mark the center of each end of the fifth dowel. This will be the cross bar.
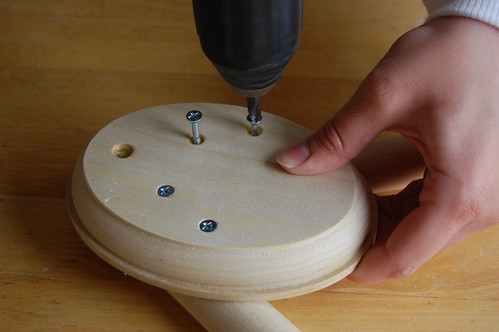
Now you need to pre-drill your holes. On the ovals drill the top hole with a drill bit just slightly smaller than the diameter of your long #12 screws (~3/16″). On the other four marks use a skinny bit just smaller than your #8 screws (~2/32″). Drill the holes on the ovals all the way through.
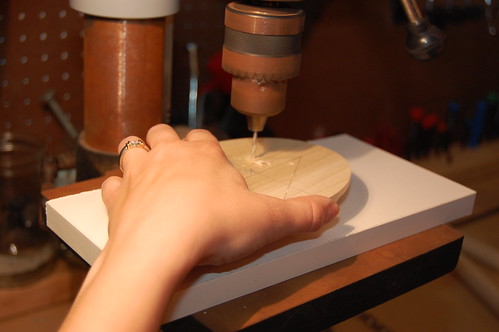
Using the same small drill bit drill holes on the marks you made on the leg dowels being careful to only drill half way through.

On the cross bar use the bigger drill bit to drill into each end. On the front of each oval you can drill very shallowly with bigger drill bits to counter sink the screws so the heads will be flush with the wood.
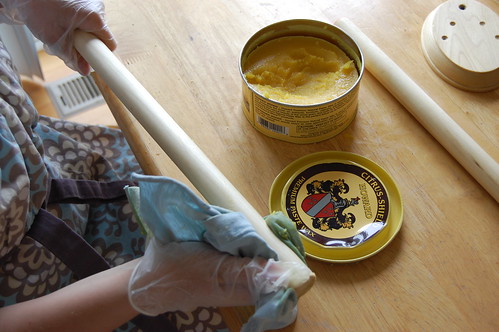
Now, sand and finish all of your wood pieces any way you like. I just rubbed them with a natural paste wax. Unfinished wood really soaks it up, so it took several coats.
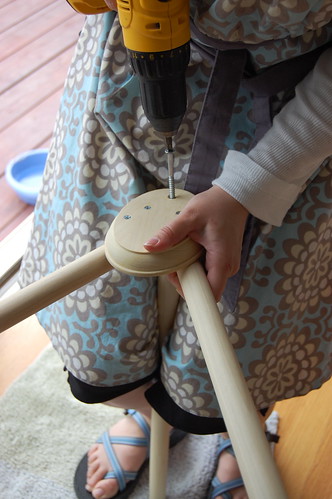
Screw your A-frame ends together. Start the 4 smaller screws on an oval until the tips are through on the back. Line up the two holes at the top of one of your leg dowels with two screw points and screw the screws the rest of the way. Lining them up can be a little tricky. It’s easiest if you line up your holes next to the screws and roll the dowel onto them. When screwing on you first leg it helps to put your other leg under the other side of the oval to keep it all at the same height.
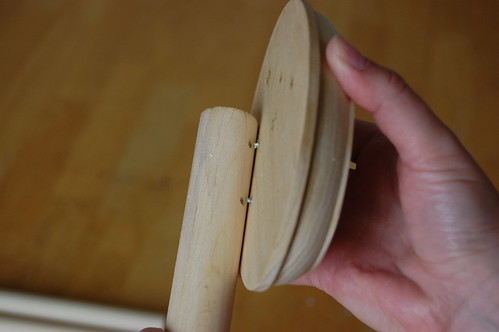
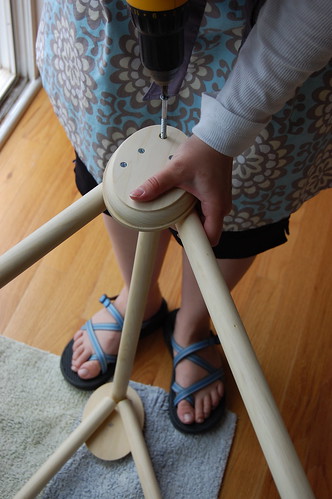
Once you have both A-frames screwed together use the big screws to attach the crossbar to the legs.
I had to use my knees to hold the dowel steady when I did the first one.
It’s done! Almost…
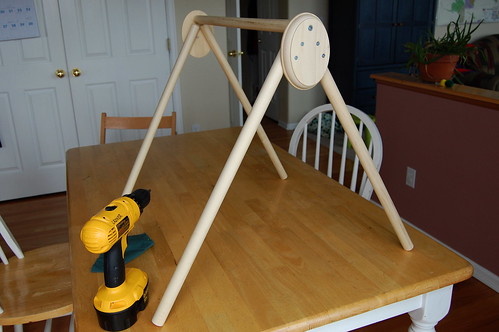
Now you need a way to attach toys to it. Come back Monday for Part 2!
Even though i already have one from Ikea, I’d love to try to make this one just out of curiosity. I love your design. I also love the quilt your little one is laying on. Did you make it yourself. It’s beautiful.
Seedpod Craft » Blog Archive » super stripy picky pants
Building your own wooden play gym | Chez Veg | Chez Veg
Baby Gym Beauties | FreidaFroo