I got to spend a lot of time finishing up my fabric printing for my wing back chair slip-cover on Saturday.

Here’s a few details on how I go about doing this:
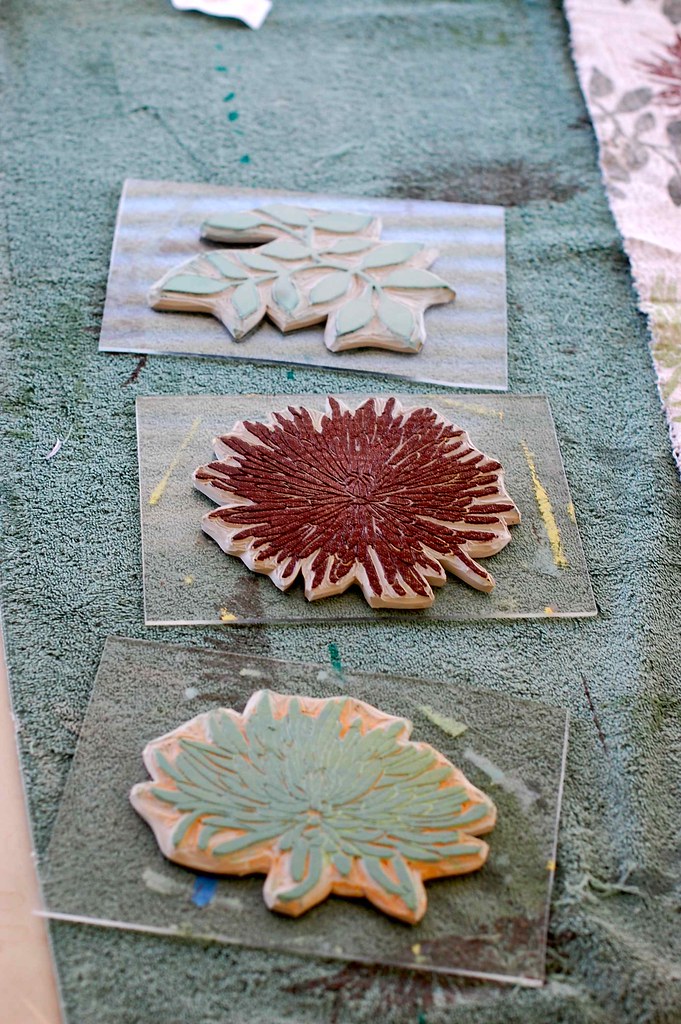
I carve my stamps on Soft-Kut printing blocks from Dick Blick. They cut so smoothly and hold all the detail too. Once I get my design carved I cut it out with an exacto-knife, round down the edges with my carving tools and then use plain old double stick tape to attach it to a piece of plexiglass. (I just get a big sheet of plexiglass from Home Depot and cut it down with a utility knife. I’m not going for perfection, so it’s okay if my edges are a little wonky sometimes.)
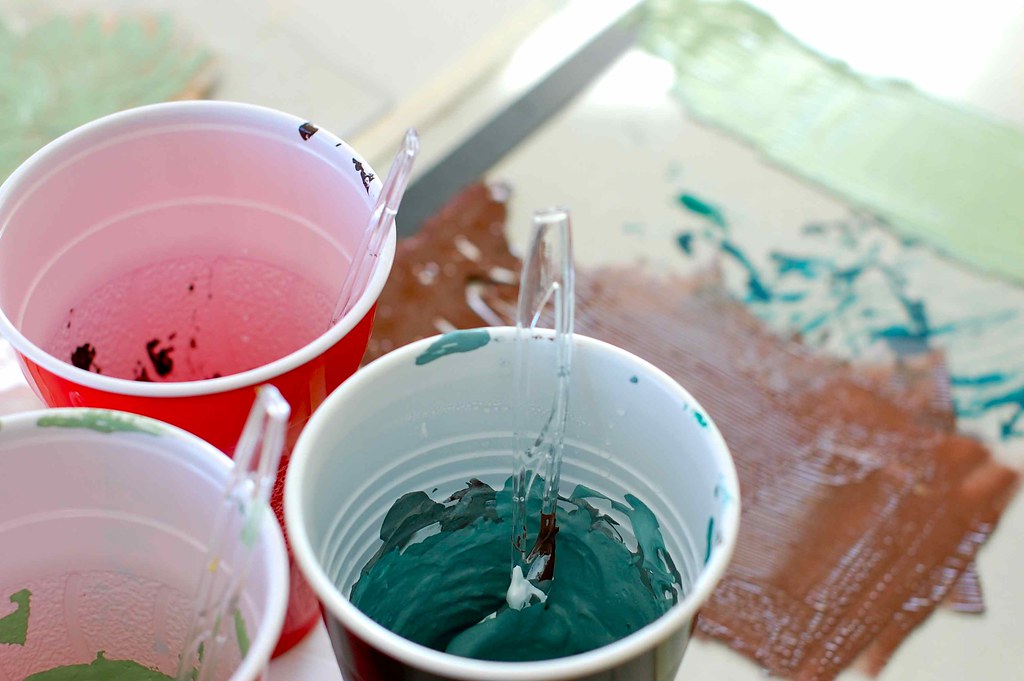
I use Versatex screen printing ink with permafix added so I don’t have to do any heat setting to make it permanent. To get it the right consistency I just add a little water.
I put an old towel down on my drafting table to be a cushion for my stamps to sink into when I print and to catch any prints that go over the edges of my fabric. Someday I’d like to have a table with batting and canvas stretched over it for fabric printing, but this works for now.
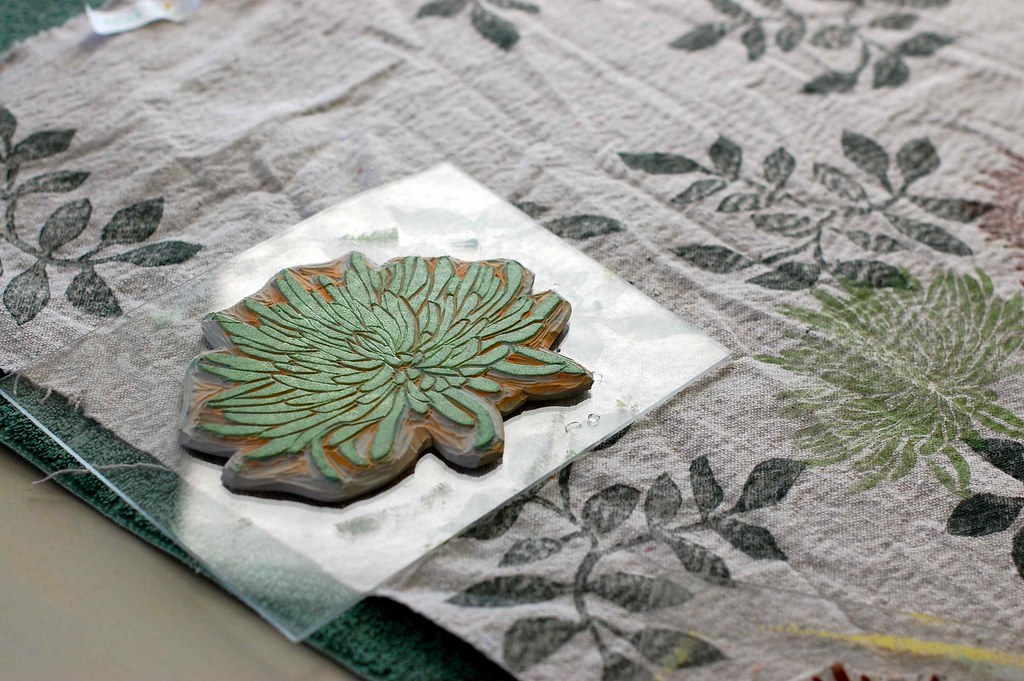
The fabric I’m using is just a big canvas drop cloth from Home Depot that I pre-washed. It’s quite a bit coarser canvas than the one I used to recover my rocking chair right before Eva was born. I think I got that drop cloth at Lowe’s. I prefer the Lowe’s drop cloth, but didn’t realize there was a difference until I had washed the Home Depot one and couldn’t return it. I would get a lot clearer prints on a less coarse fabric, but I like the character. It’s handmade, right?

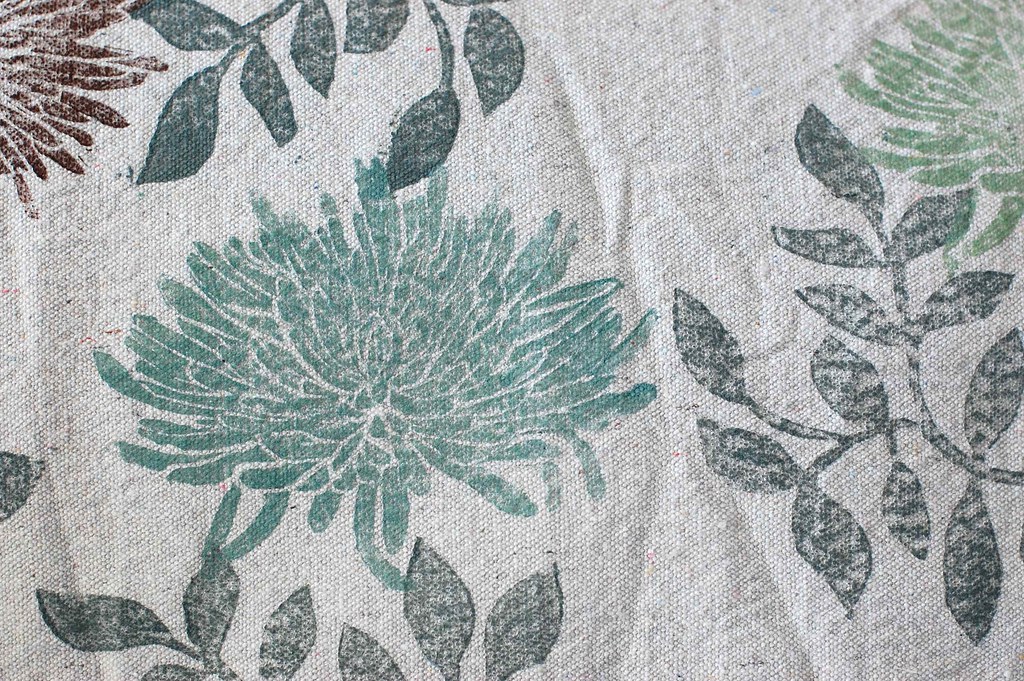
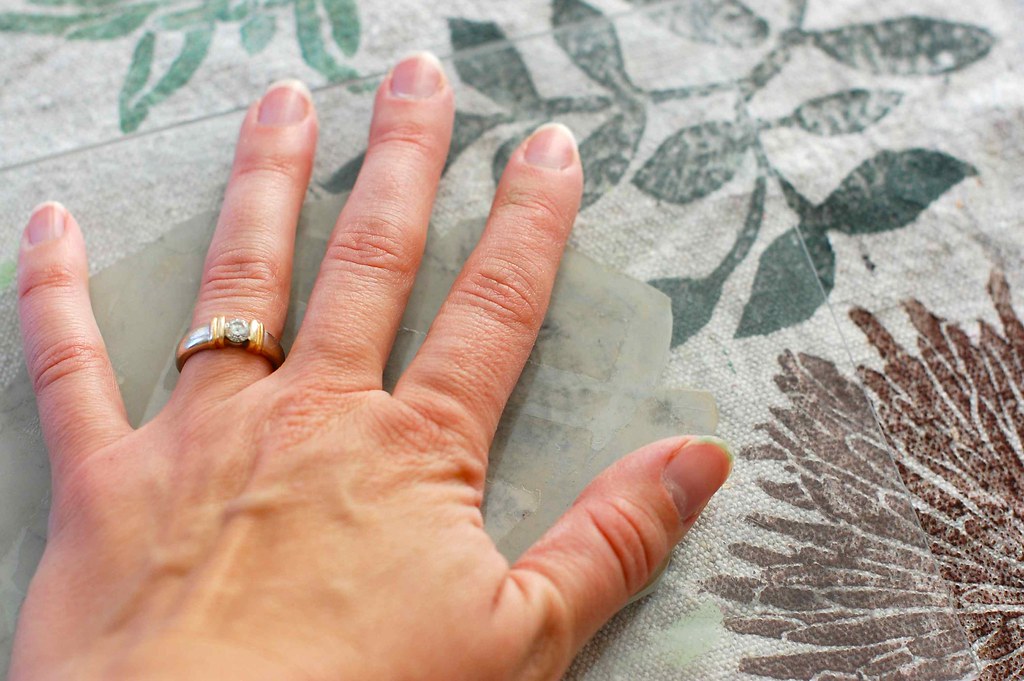
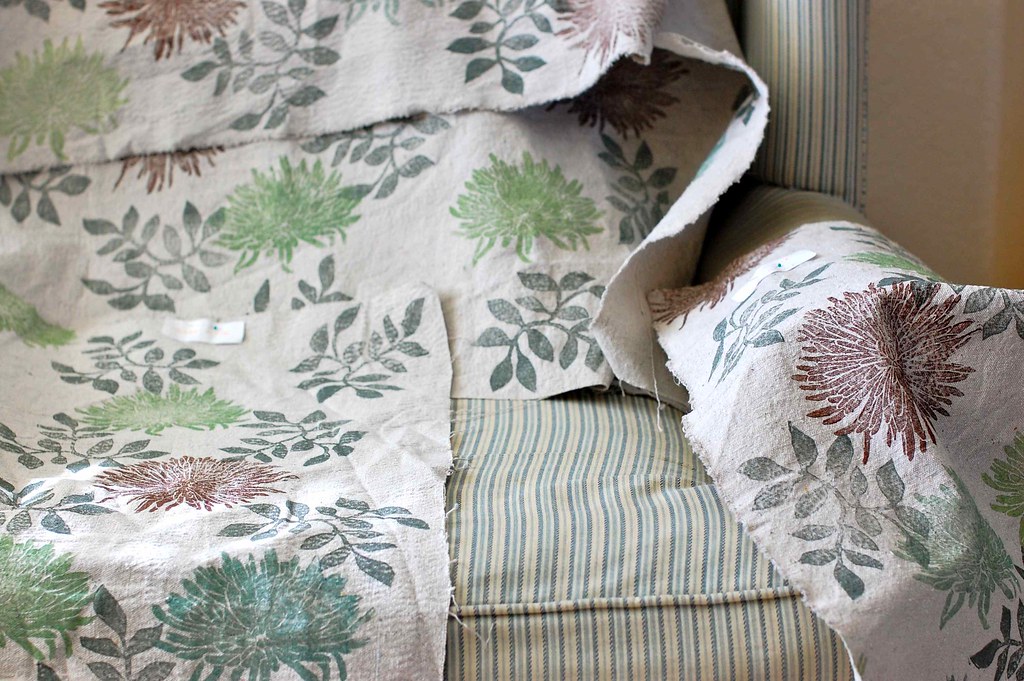
Can you imagine it all fitted and sewn into a lovely slip cover for my sad old chair?
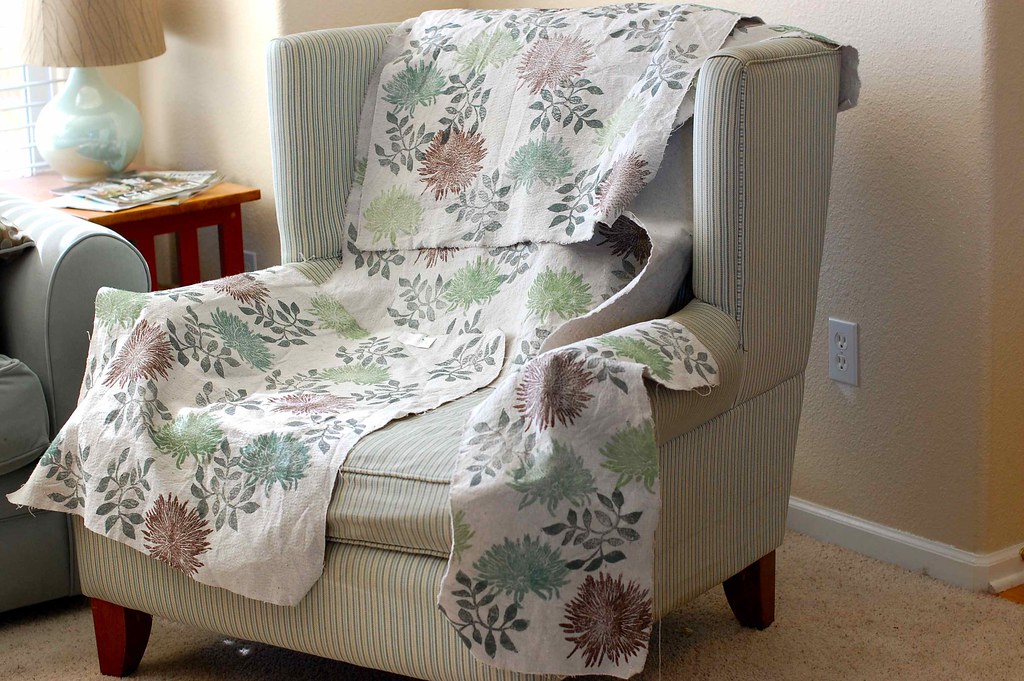
There’s light at the end of the tunnel of this project! It felt so liberating to have it all cleaned up. I can’t wait to show you my finished chair!