Our main computer is freaking out, so that’s why I haven’t posted all week. It should be fixed soon and I’ll have pictures to show you!
birthday at Tahoe
On Wednesday I turned 31. That sounds so grown up. I am now in my 30s. Geesh. When I was younger I had this idea that I would accomplish amazing things by the time I was 30. You know, like have art hung in galleries throughout the world, a book or two published, things like that. I guess what I have done– being married for nearly 11 years, given birth to 5 kids, lived all over the country– are pretty good things, especially that being married part and having all those little humans. Those books and art gallery exhibitions will just have to wait their turn.
To celebrate my birthday I got to do my favorite thing– walk around outside in an amazingly beautiful place with my very favorite person in the whole universe.

Barry spent part of the week being a judge at the International Science and Engineering Fair in Reno, Nevada. We found a babysitter for the four biggest kids so that Hunter and I could tag along. I had my first casino experience (our hotel was a casino, so we got to walk through it over and over) –not too impressive, just really disorienting and stinky. Other than that, the trip was so relaxing. I got to do things like nap and shop for jeans that actually fit, and best of all drive up the mountain to see Lake Tahoe, the lake of amazing turquoise water.


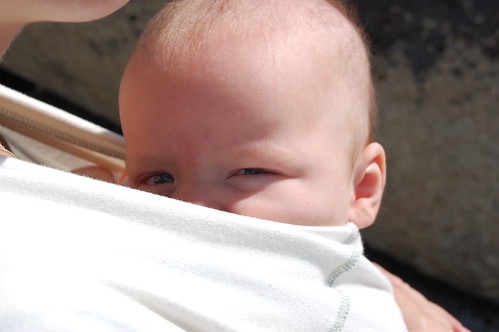
I didn’t think to bring Hunter a hat. He did have a burp rag on his head most of the time, just not for pictures. You know, having just one baby is a piece of cake. He was so good.


I have a friend who grew up here by Lake Tahoe. Her dad just decided that he needed to raise his family in a cool place, so he packed up his wife and 8 kids, moved to a little town by the lake, and started a business doing accounting. They had a tiny house for such a large family, but there were those mountains and that water– way better than a big house. While we were driving around we tried to figure out how we could get that plan to work out for us. When we got home Barry checked zillow.com. Um, well, I think $3 million- $16 million is a little out of our price range. A girl can dream though, right?
Happy birthday to me!
(All of these photos were shot by Barry, the non-babywearer on this trip.)
Tutorial:: Make a Simple Baby Gym (part II)
Well, it’s not Monday anymore. It’s not even the day after Monday. I shouldn’t make promises about when I’ll make a blog post because then things get crazy and I can’t get to it. My husband is judging the International Science and Engineering Fair, and since he was going to be gone over my birthday (today) he had Hunter and I tag along for some rest and relaxation. We’re having a great time.
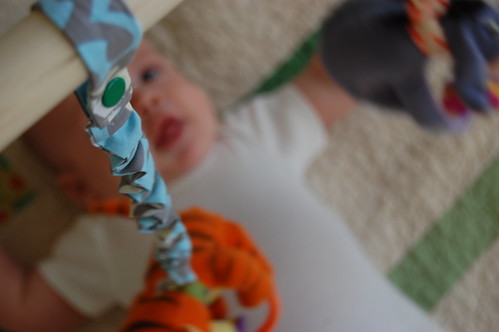
But, on with the reason for this post: springy-toy-dangler-things for the baby gym.
Now, the reason they need to be bouncy is so that they hang above baby’s cute little face so he can watch and bat at those toys, but once he actually succeeds in getting a hold of one he can have the ultimate in baby satisfaction by pulling it toward himself and stuffing it in his mouth. It just wouldn’t be fun any other way.
Materials:
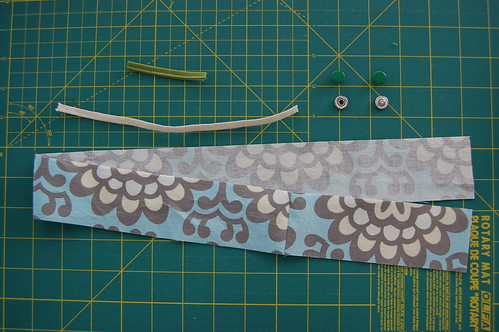
- a 2″ x 28″ strip of cute fabric (I had to piece mine, which is totally acceptable here.)
- 8″ piece of 1/4″ elastic
- 2 1/2″ piece of ribbon or trim
- a snap
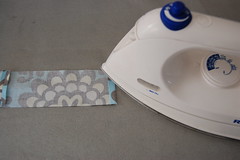
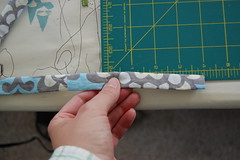
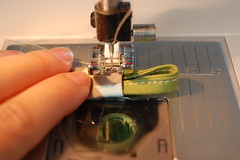
First, on each short end of your fabric press about a quarter of an inch of to the wrong side to finish the edges.

Then fold your strip in half lengthwise, right sides together and sew the raw edges with a 1/4″ seam allowance. Turn your tube right side out and press.
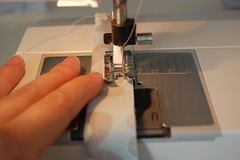
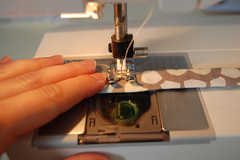
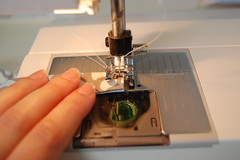
Now, with a safety pin on one end, thread your elastic through the tube feeling where the end is. When the end of the elastic without the safety pin is about 4 inches from the end of your tube of fabric, stop pulling and anchor your elastic there by sewing back and forth across the width of the tube, being sure to catch the elastic in the stitches.
After one end of the elastic is anchored inside the tube keep pulling the other end through, scrunching up the fabric.
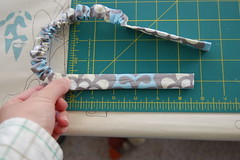

Once you feel it about 5 1/2″ from the other end of your fabric tube anchor it in place by sewing back and forth across the width of your fabric.
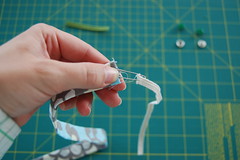
Now make your piece of ribbon or trim into a loop and stick the ends about 1/4″ into the end of your fabric tube that has 4″ without elastic.
Sew it in there and also close up the other end too.
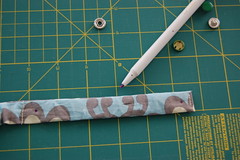
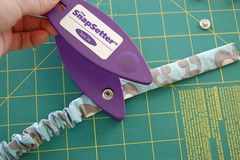
Put your snap on each end of the 5 1/2″ section that doesn’t have elastic.

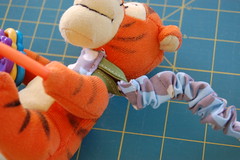
Thread the snap end through the loop to attach the strap to a toy. This design should fit on any toy. I wish I could say I came up with this ingeniously simple idea myself, but nope. I got it from Jessica’s pacifier clips, and she got the idea from this Etsy seller.
Now you can attach your toy to your gym and make another springy-toy-dangler-thing!
Have fun, babies! These work great to hang toys from just about anywhere you can think of. We’ve got them attached to the car seat and the stroller too.
Tutorial:: Make a Simple Baby Gym (part I)
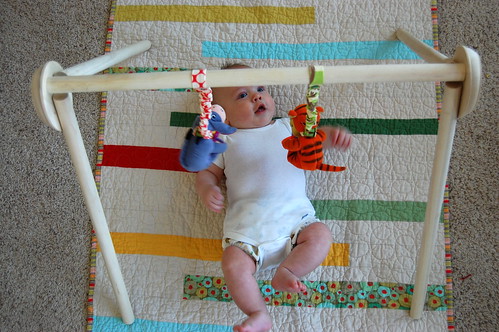
Here it is– a tutorial on how to make a simple baby gym. Feel free to make this just how I did, modify it, or whatever, but if you make one and show it to the internet, give me credit by linking back here.
Today I’ll show you the wooden part, then on Monday I’ll show you how to make cute springy-toy-dangler-things.
Materials: (you shouldn’t have any problem finding these at Home Depot, Lowe’s, or a craft store like Hobby Lobby)
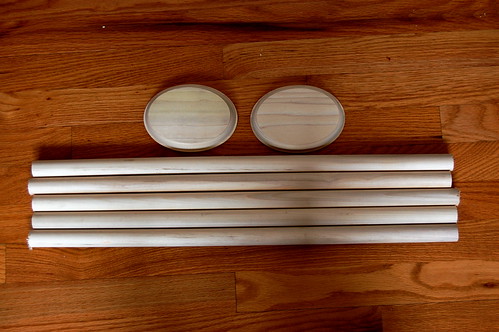
- 5 wood dowels 1″ in diameter and 24″ long
- 2 wood oval rosettes 4″ x 6″ x 1″ (a circle at least 4″ in diameter should work too)
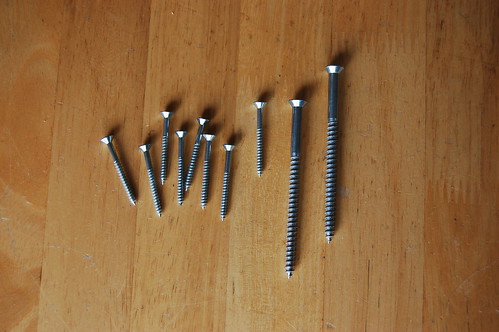
- 8 #8 x 1 1/2″ wood screws
- 2 #12 x 3 1/2″ wood screws
Tools:
- saw to cut dowels to size if you don’t have them cut at the store
- a protractor or quilting ruler to measure angles with
- drill and bits
- screwdriver (preferably with power)
First, mark all the spots you need to drill holes.
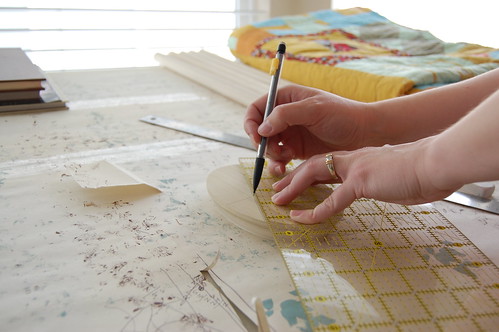
On your oval draw a line down the middle lengthwise. Measure 1″ down from the top along the line and make a mark. From this mark make a line angling out 30 degrees to the right. Now make a line angling 30 degrees to the left. On each of theses angled lines make marks 1 1/4″ and 2 1/4″ from the top. It should look like this:

On 4 of your dowels make marks 1/2″ and 1 1/2″ from the top. These will be you legs.
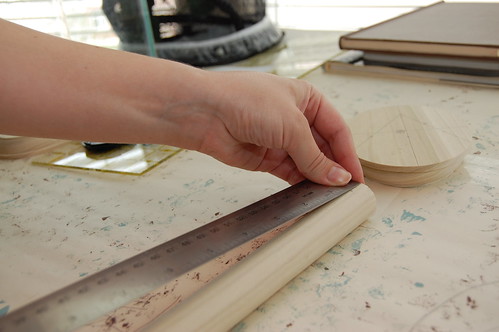

Mark the center of each end of the fifth dowel. This will be the cross bar.
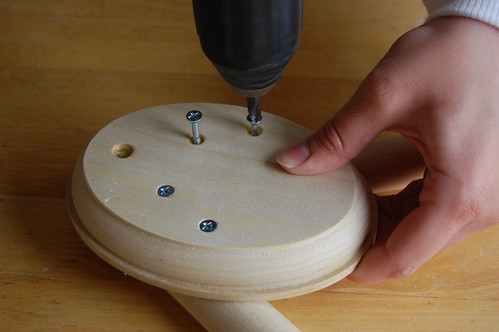
Now you need to pre-drill your holes. On the ovals drill the top hole with a drill bit just slightly smaller than the diameter of your long #12 screws (~3/16″). On the other four marks use a skinny bit just smaller than your #8 screws (~2/32″). Drill the holes on the ovals all the way through.
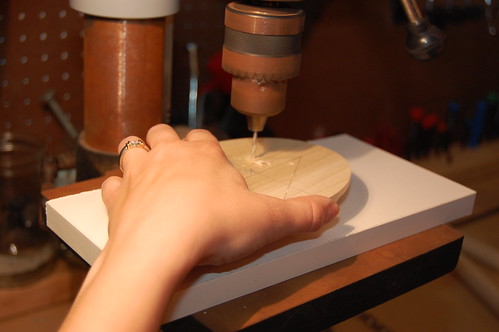
Using the same small drill bit drill holes on the marks you made on the leg dowels being careful to only drill half way through.

On the cross bar use the bigger drill bit to drill into each end. On the front of each oval you can drill very shallowly with bigger drill bits to counter sink the screws so the heads will be flush with the wood.
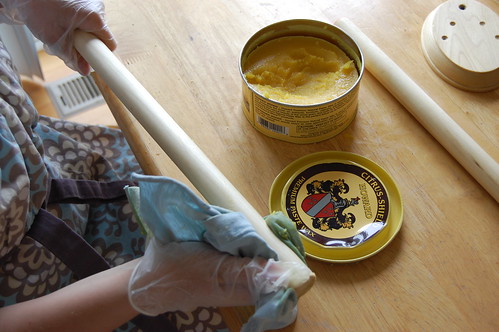
Now, sand and finish all of your wood pieces any way you like. I just rubbed them with a natural paste wax. Unfinished wood really soaks it up, so it took several coats.
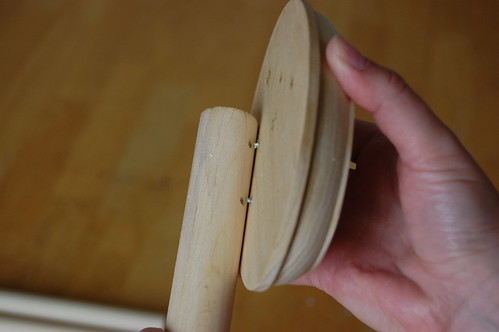
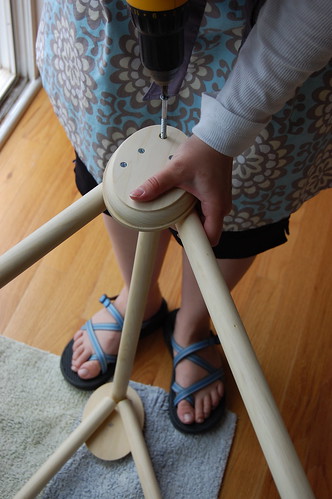
Screw your A-frame ends together. Start the 4 smaller screws on an oval until the tips are through on the back. Line up the two holes at the top of one of your leg dowels with two screw points and screw the screws the rest of the way. Lining them up can be a little tricky. It’s easiest if you line up your holes next to the screws and roll the dowel onto them. When screwing on you first leg it helps to put your other leg under the other side of the oval to keep it all at the same height.
Once you have both A-frames screwed together use the big screws to attach the crossbar to the legs.
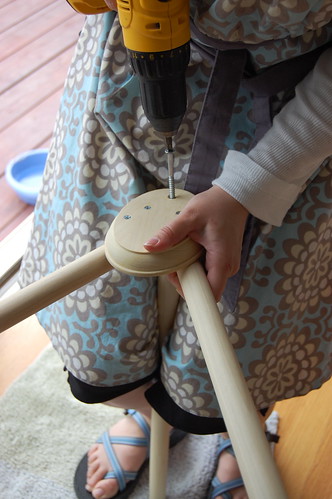
I had to use my knees to hold the dowel steady when I did the first one.
It’s done! Almost…
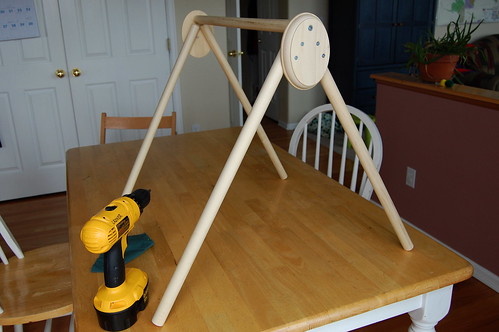
Now you need a way to attach toys to it. Come back Monday for Part 2!