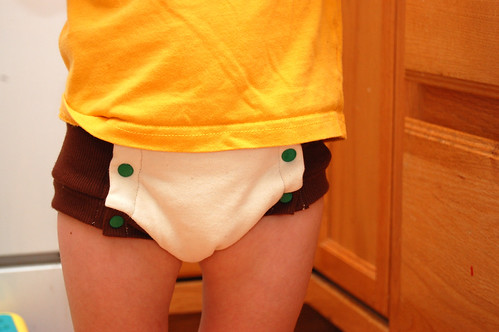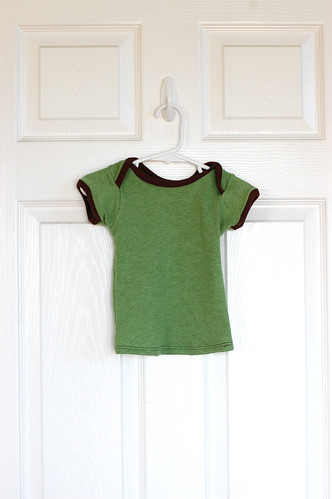
I made a couple more shirts for Hunter and just totally love them. While I was at it I thought I’d show you how I put the binding on them because all of the tutorials and instructions I’ve seen make it way more complicated that I think it needs to be. Instead of sewing it on then folding it over and sewing it all again, I make double fold tape, sandwich the edge to be bound inside of it, and sew it on all at once.
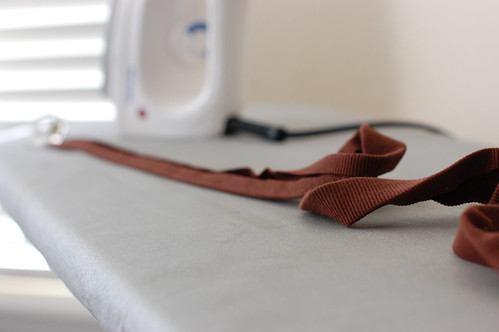
First I cut my binding fabric into a 2 inch wide strip with the stretch going along the length of the strip. Then I get out my handy dandy tool to press the edges of my strip into the center to make my binding tape. (I have a super cheap Dritz 1″ tape maker, but it looks like they don’t make them anymore. Clover does, though, and they’ve got cute colors on them.)
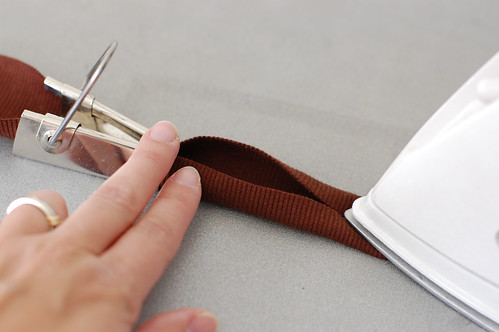
Then it’s ready to be sewn onto my project. With the folded side up I just line up the edge of the fabric that I’m going to bind with the fold on the left,
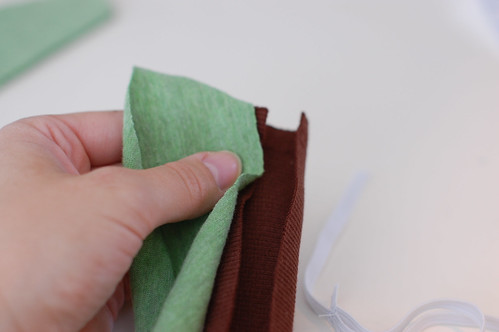
fold it over, and sew it on a little less than 1/8″ away from the edge.
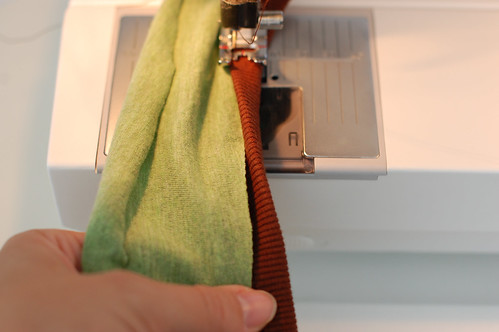
I like to move my needle over all the way to the left so I can center my binding under my presser foot. I gently stretch the binding as I sew and cut it to length once I’m done with an edge. I also tend to have more binding underneath than on top, so I don’t have problems failing to catch the binding underneath in my stitches. Then it’s all done in one step.
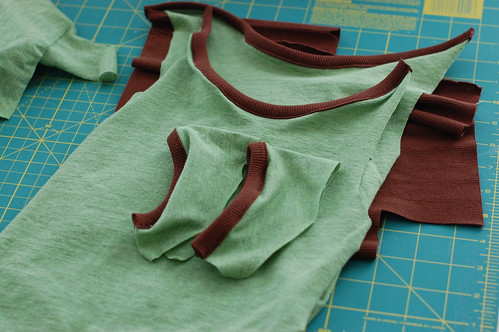
This is the way I put the binding and ties on our Sweet Pea Pilot Caps too. I also bind quilts this way (with quilt fabric, of course). I’m all for quick and easy.
When sewing with knits keep in mind that you need to use a ball point needle in your machine. That way you don’t risk snagging runs and making holes in your fabric and it slides through the fabric much better than a universal needle does.
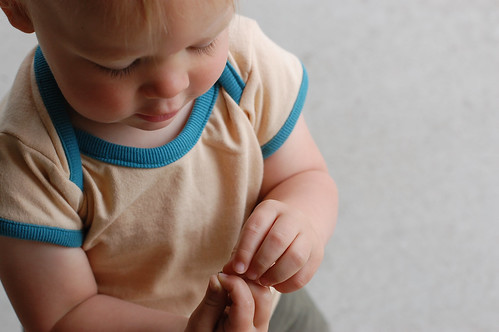
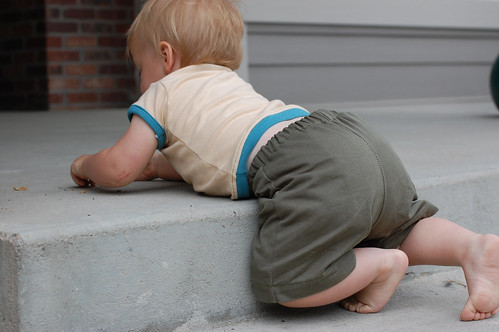
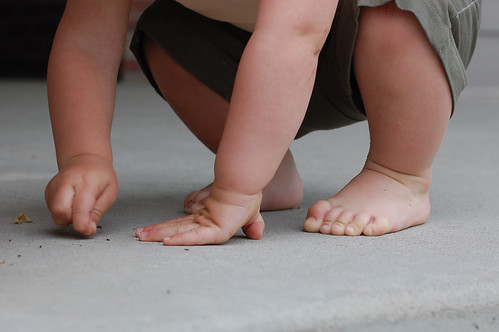
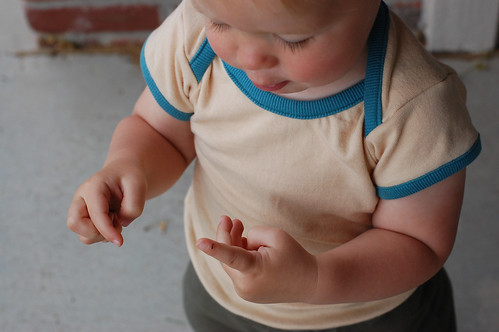
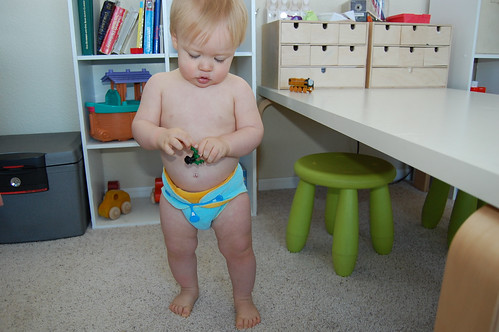
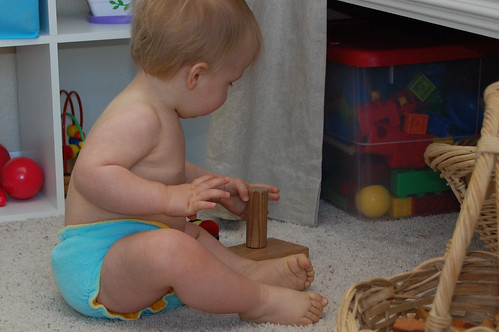
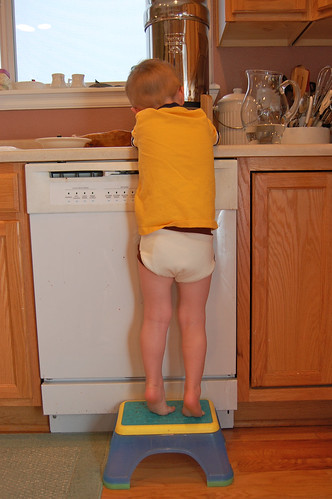
Now for the pictures with the shirt on my model.
“Hunter, go sit in your seat so I can take your picture!”

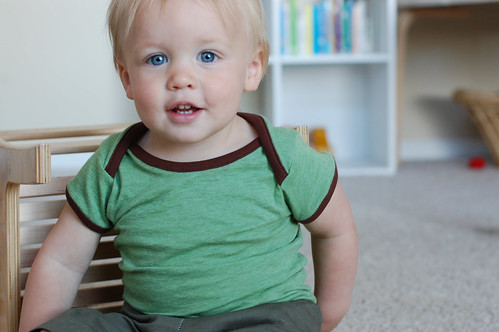
That works…
I’ll show you the other one tomorrow.