A couple of summers ago we bought a used tent trailer we found on craigslist. It has been fun to camp in, but needed a little help. I recovered all the cushions with cute new fabric and still need to work on the curtains. But what it really needed was help with the tent roofs. The vinyl was brittle and discolored and CRACKED in a bazillion places. Not so good in rain storms. (There were only 2 small cracks when we bought it, but they spread and multiplied with each use.)
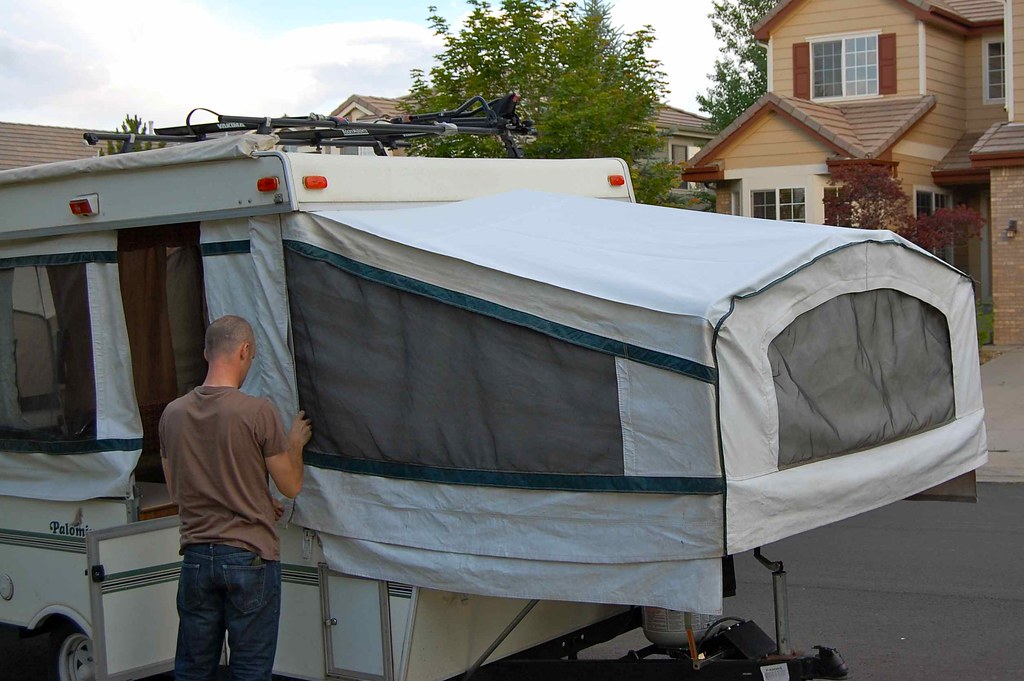
I looked into getting the vinyl/canvas replaced, but it was going to cost nearly $1000. So, we held our breath, ordered some Temper Tent Vinyl tarps from none other than tarps.com and sewed in new roofs ourselves.
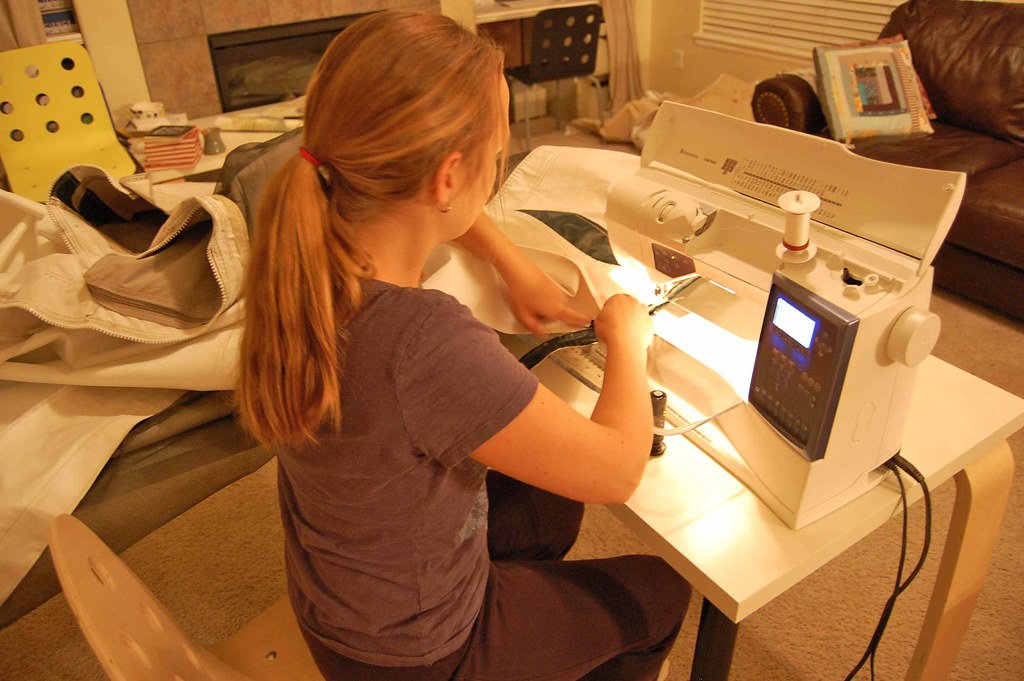
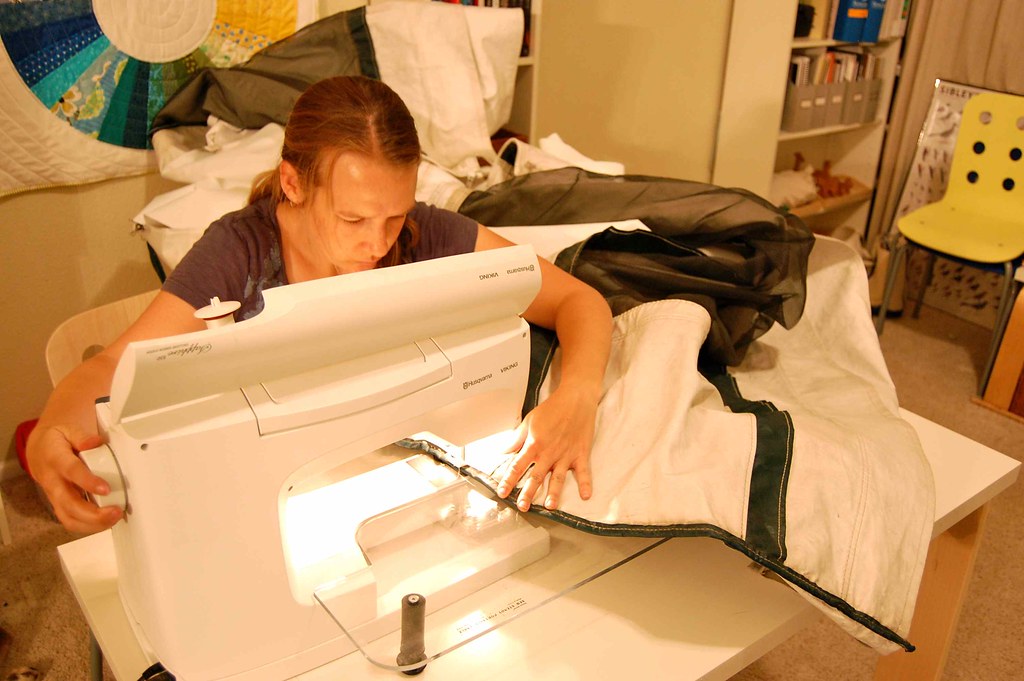
My sewing machine wasn’t too excited about it, but we made it. The tension was all wonky and I couldn’t ever get it perfect, but we weren’t going for pretty– just functional. It was HUGE and HEAVY and really hard to maneuver. I had to keep telling Barry, “We can do it! We can do this.” Of course the second one went better than the first.
Things I learned– use a walking foot, and a jeans 100/16 needle is better than a leather/vinyl needle. We used bulldog and binder clips to hold everything together so we didn’t make holes with pins. Not that pins would have ever gone through without getting all bent.
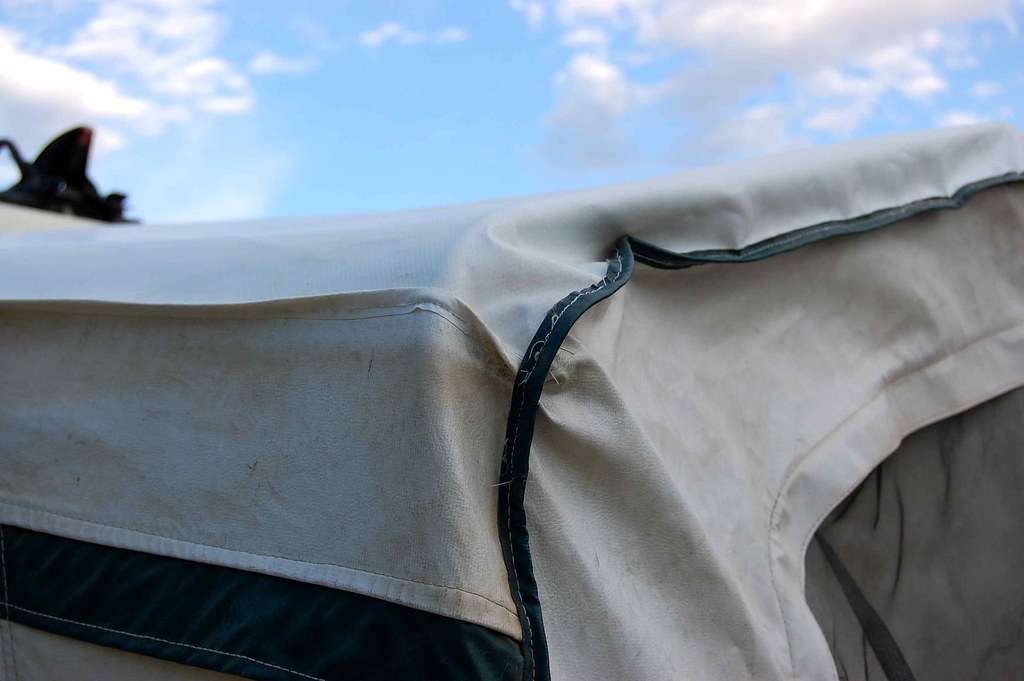
We used a mix of new binding made from tarp scraps and the old original binding. You can see that sometimes my tension was a little loopy, especially over the curves, but the seams are still strong and hold up to being stretched. Phew!
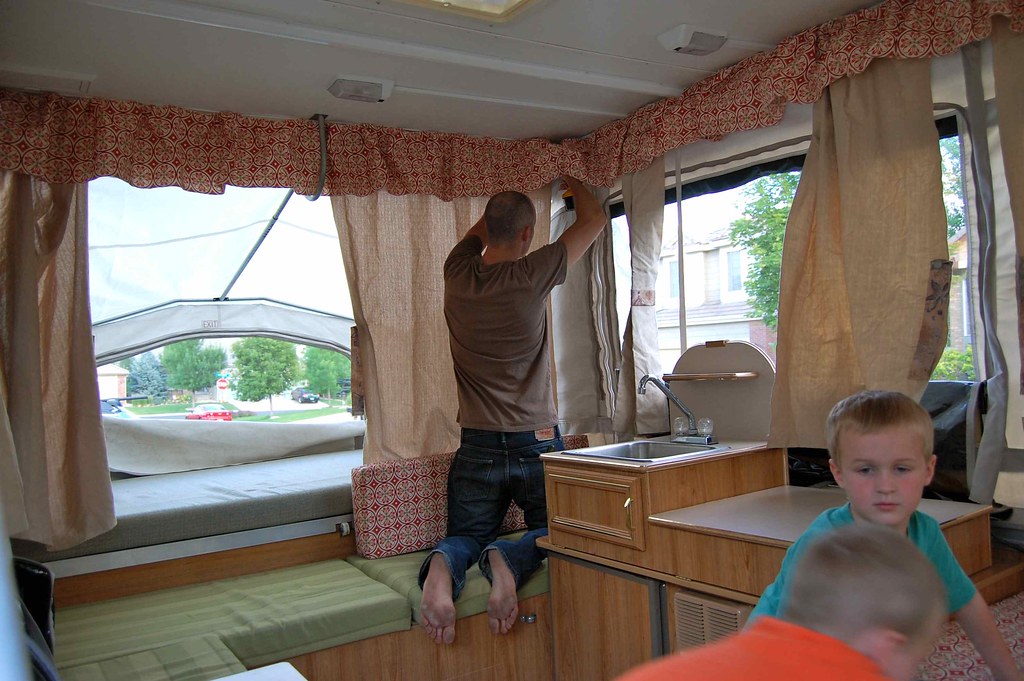
We got it all put back together.
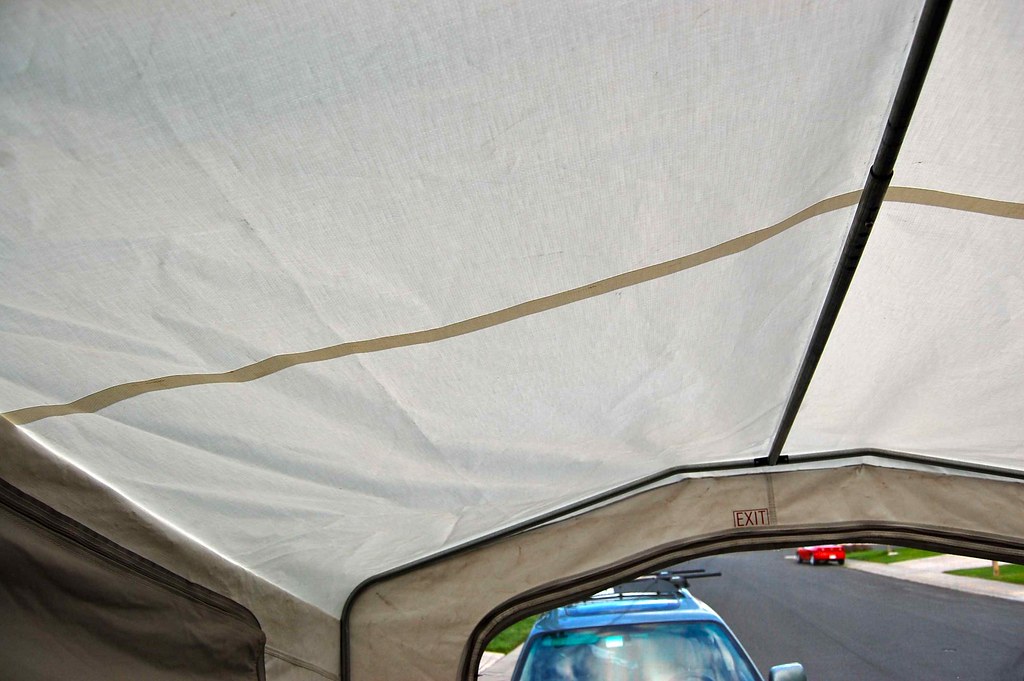
And look- no cracks!
We’re headed up to the mountains today to use it. Barry’s got the mother of all bike races tomorrow–
the Bailey Hundo. 100 miles on a MOUNTAIN bike. Totally nuts, but totally awesome.
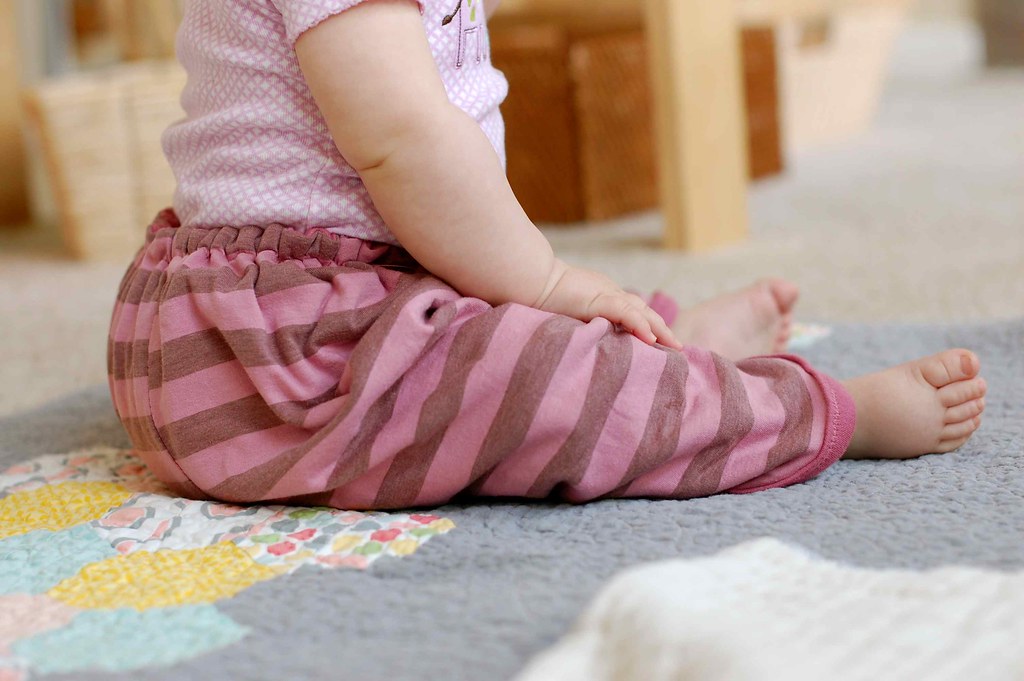
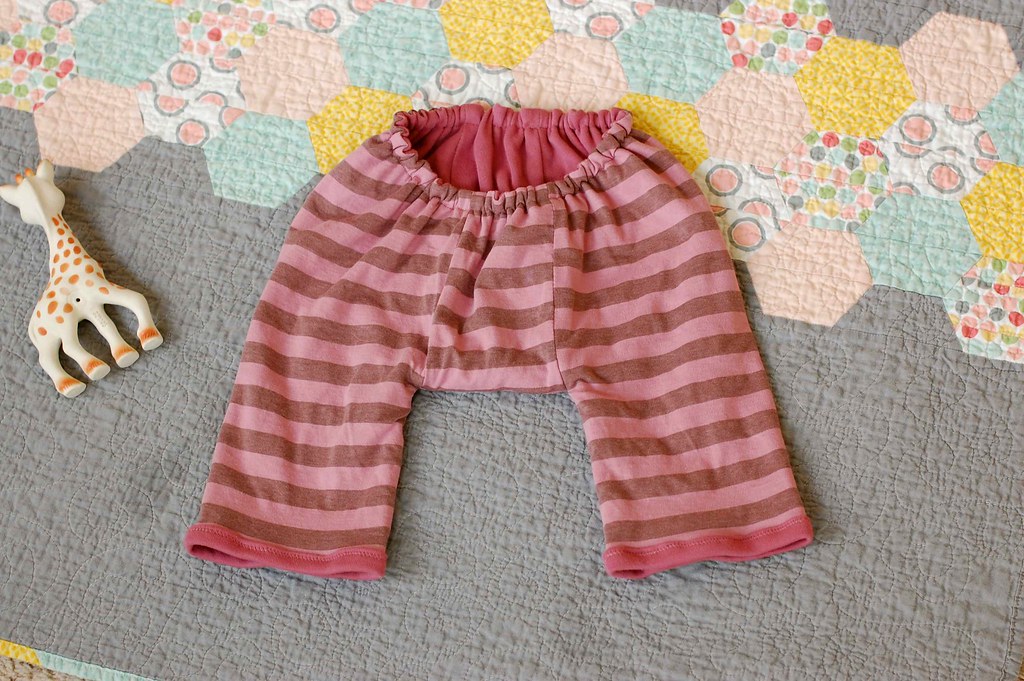
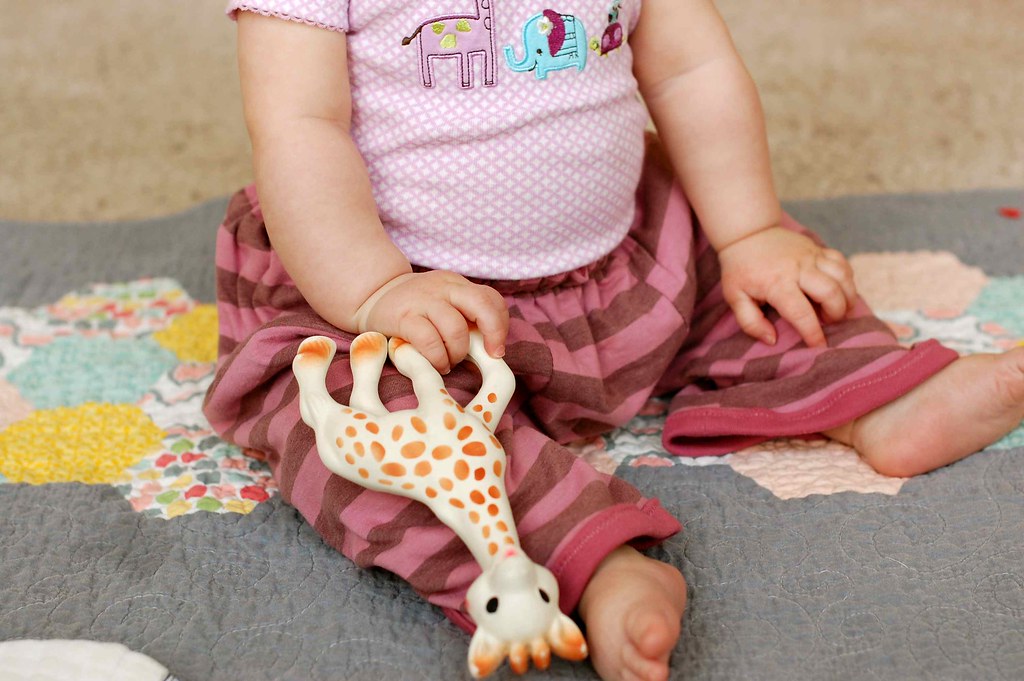
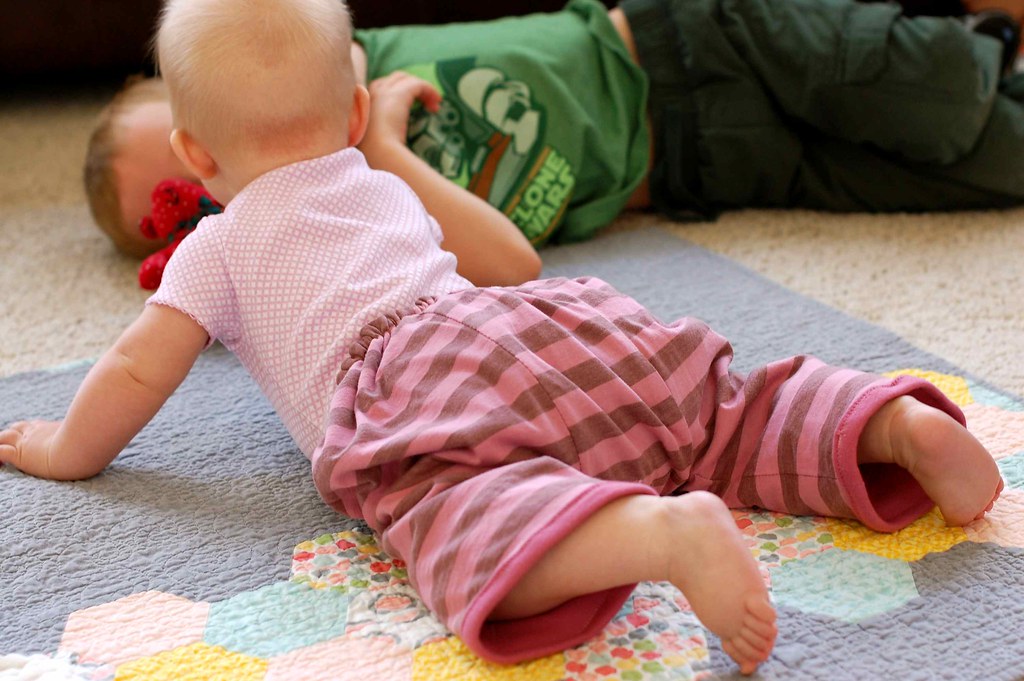
 That didn’t quite work out how I wanted it to.
 You get the idea, though, right? It is pink and girly for my pink girly girl.