So, when we graduated from college and moved to Albuquerque I found a table at a flea market and brought it home. It matched the two white and natural wood chairs we already had, and it wasn’t hard to find two more. We’ve been eating on that table ever since. Our family grew from one child, to 2, to 3, 4, then 5. Our table didn’t grow, though, and that has posed a problem as of late. We could squeeze 6 of us around the table (with the baby securely strapped into the high chair beside us). We could even fit place settings for 6, but fitting the food got to be tricky, and having company really complicated things. We looked in furniture stores, but there just wasn’t anything there that was what I wanted. I wanted a rustic handmade table or something old with character. Oh, and it needed to be square and extend to get bigger. I scoured craigslist and happened upon a listing for a table made from reclaimed barn wood. It was gorgeous. I wrote the carpenter. What I wanted would be way more than we could afford. I kept looking, kept pouring over craigslist and nothing could float my boat. Then out of the blue I got an e-mail from the carpenter. He changed his mind! He could make my vision a reality well withing our budget.
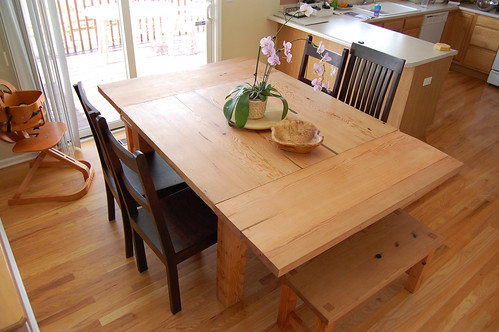
Now, several months later, it is sitting in my dining area. Wanna see?

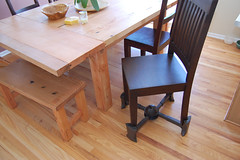
It’s made from reclaimed Douglas Fir beams from an old bridge in Kansas. The trees were probably 150 years old or more when they were cut to make the bridge. I’m not sure how long the bridge was standing, but I think it’s safe to say that the wood for our table has been around for centuries.
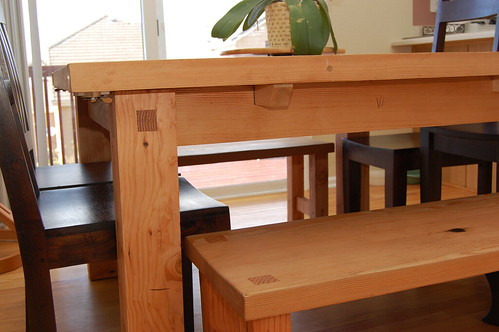
He made us 2 matching benches too all with through mortise and tenon joinery.

The ends extend so it can go from being a 54″ square that seats 8 to being 54″ x 84″ to seat 12!
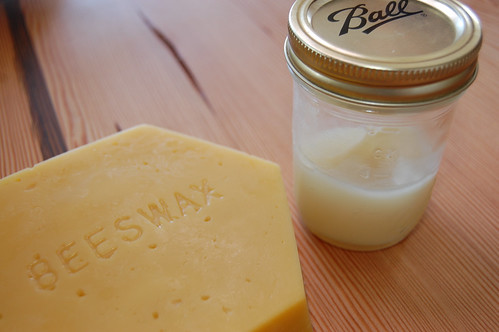
It’s finished with a natural beeswax and mineral oil finish. This has to be reapplied every few weeks, but it actuall makes the care of the table easier because I can sand out inevitable pencil marks and keep it looking perfectly beautiful.
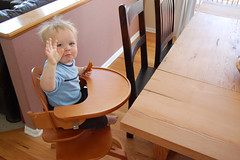
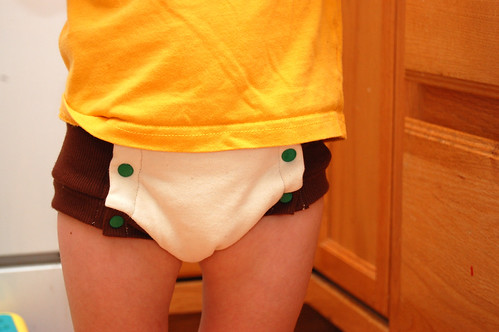
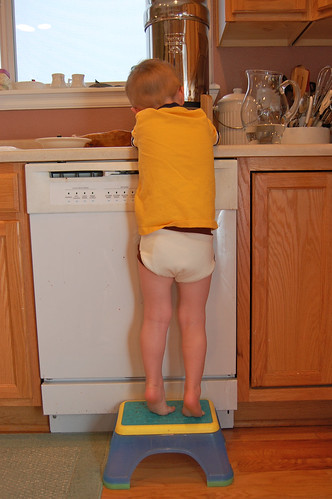
I got new seating for the littlest guys too. A Svan highchair for Hunter and a Kaboost for Ian.

I love it. I love the natural beauty of the wood, the texture of it, the smell of it, the handcrafted nature of it. It is perfect and will be for generations to come.
To see more tables by Jeremy Glenn of Elemental Table Company check out his flickr page here.
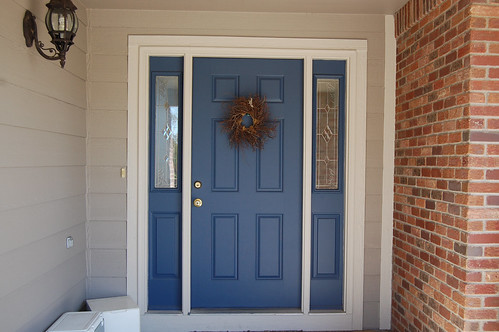 Anyway, my next-door-neighbor-best-friend Holly was over to play and we decided to play out front. As we were walking out the door, Holly spotted something fly away when the door opened. Then we saw it. The Nest.
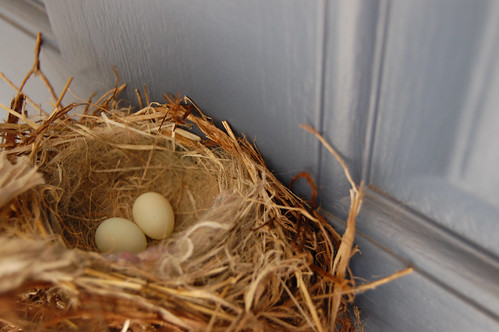 We looked at a bird book and it says that one pair of house finches will breed up to 2-5 times a summer, and egg clutches are 2-6 eggs, and that our front-door eggs will hatch in 13-14 days.